Overview
To mitigate the chess-grid pattern artifact in the stitched tiles of SEM images due to non-uniform “illumination”.


Procedure
Prepare a flat field image by either acquire an image from a very flat sample using the same acquisition parameter, e.g. magnification, beam current, etc., or by applying Gaussian blur on a relatively uniform sample to remove the high spatial frequency details.
For example one of the tiles from the tin ball area is selected
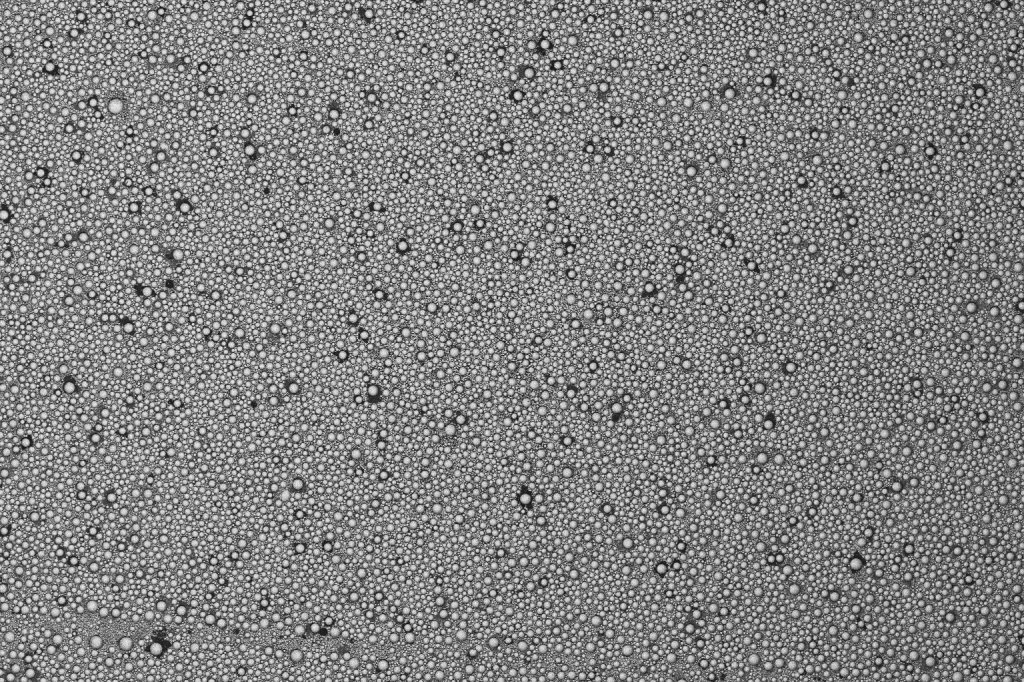
In FIJI, apply Process/Filters/Gaussian Blur… and select a suitable Sigma (radius) value. So that the fine tin ball details are all removed, leaving only the low spatial frequency brightness variation.

To prepare a dark frame for SEM images, one can simply change the brightness and contrast of one of the tiles, so as to produce a black image with the same pixel dimensions and format. For images from a traditional camera, a proper dark image can be captured with camera capped in dark.

Run EM tool/Flat Field Correction. The plugin will prompt to select the raw image folder, dark frame and then flat field image. After correction, a “corrected” image folder will be created with all the processed tiles. Apply the same stitching process on these images should give you a more uniformly stitched large area map.
