Update 2023/08/13: Thanks to Tom Nardi’s introduction on Hackaday, and also David Crookes’ article on the official Raspberry Pi Magazine – MagPi (Issue135, Nov2023) I feel obligated to provide a bit more details about this project. So more information and some small updates are included now, and more will be updated in the future to make a polished project.
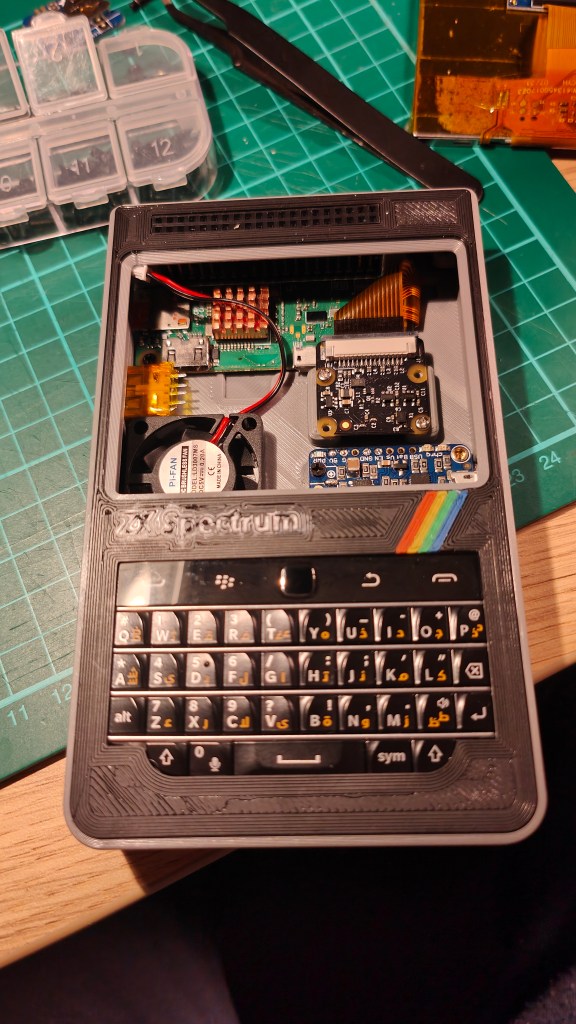
I always had the plan to build a small handheld cyberdeck-like computer for electronics testing and prototyping. This became more feasible after I purchased the awesome BBQ20KBD blackberry keypad from Solderparty. So after searching through my drawers, I finalised the components list as (the current list is to make use of the spare parts left from my previous game boy project, and also subjected to the shortage of Pi zero 2W):
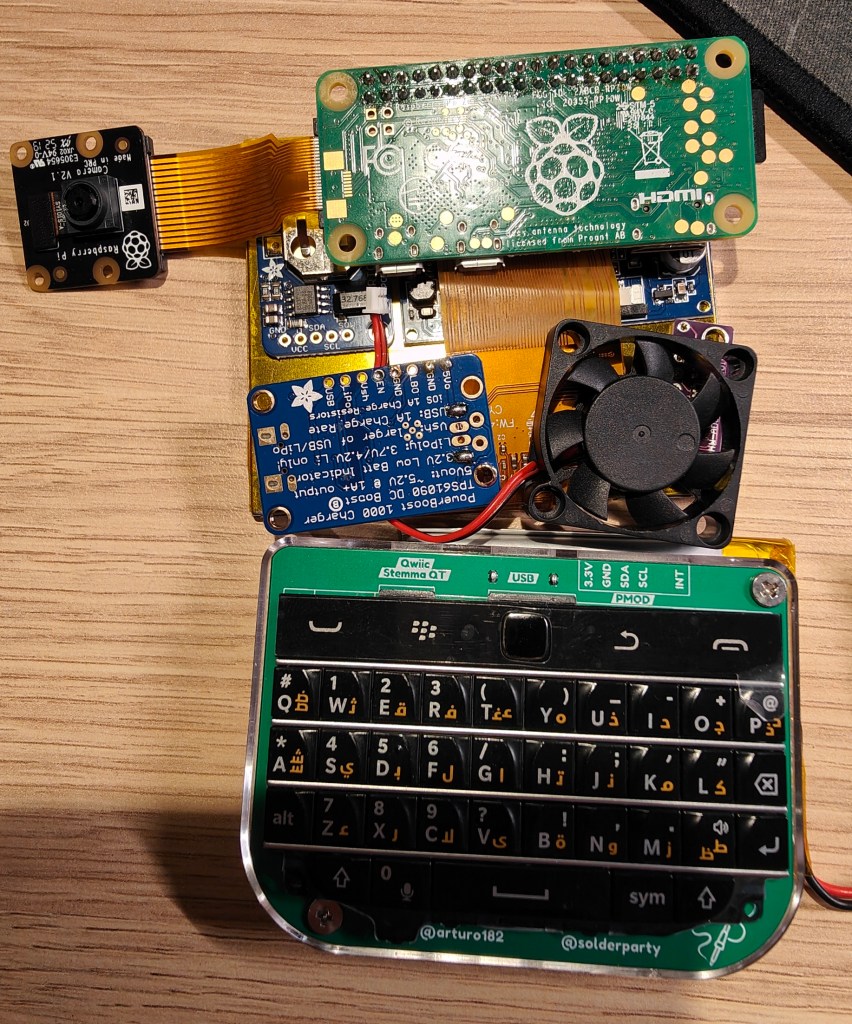
- Raspberry pi zero W
- A
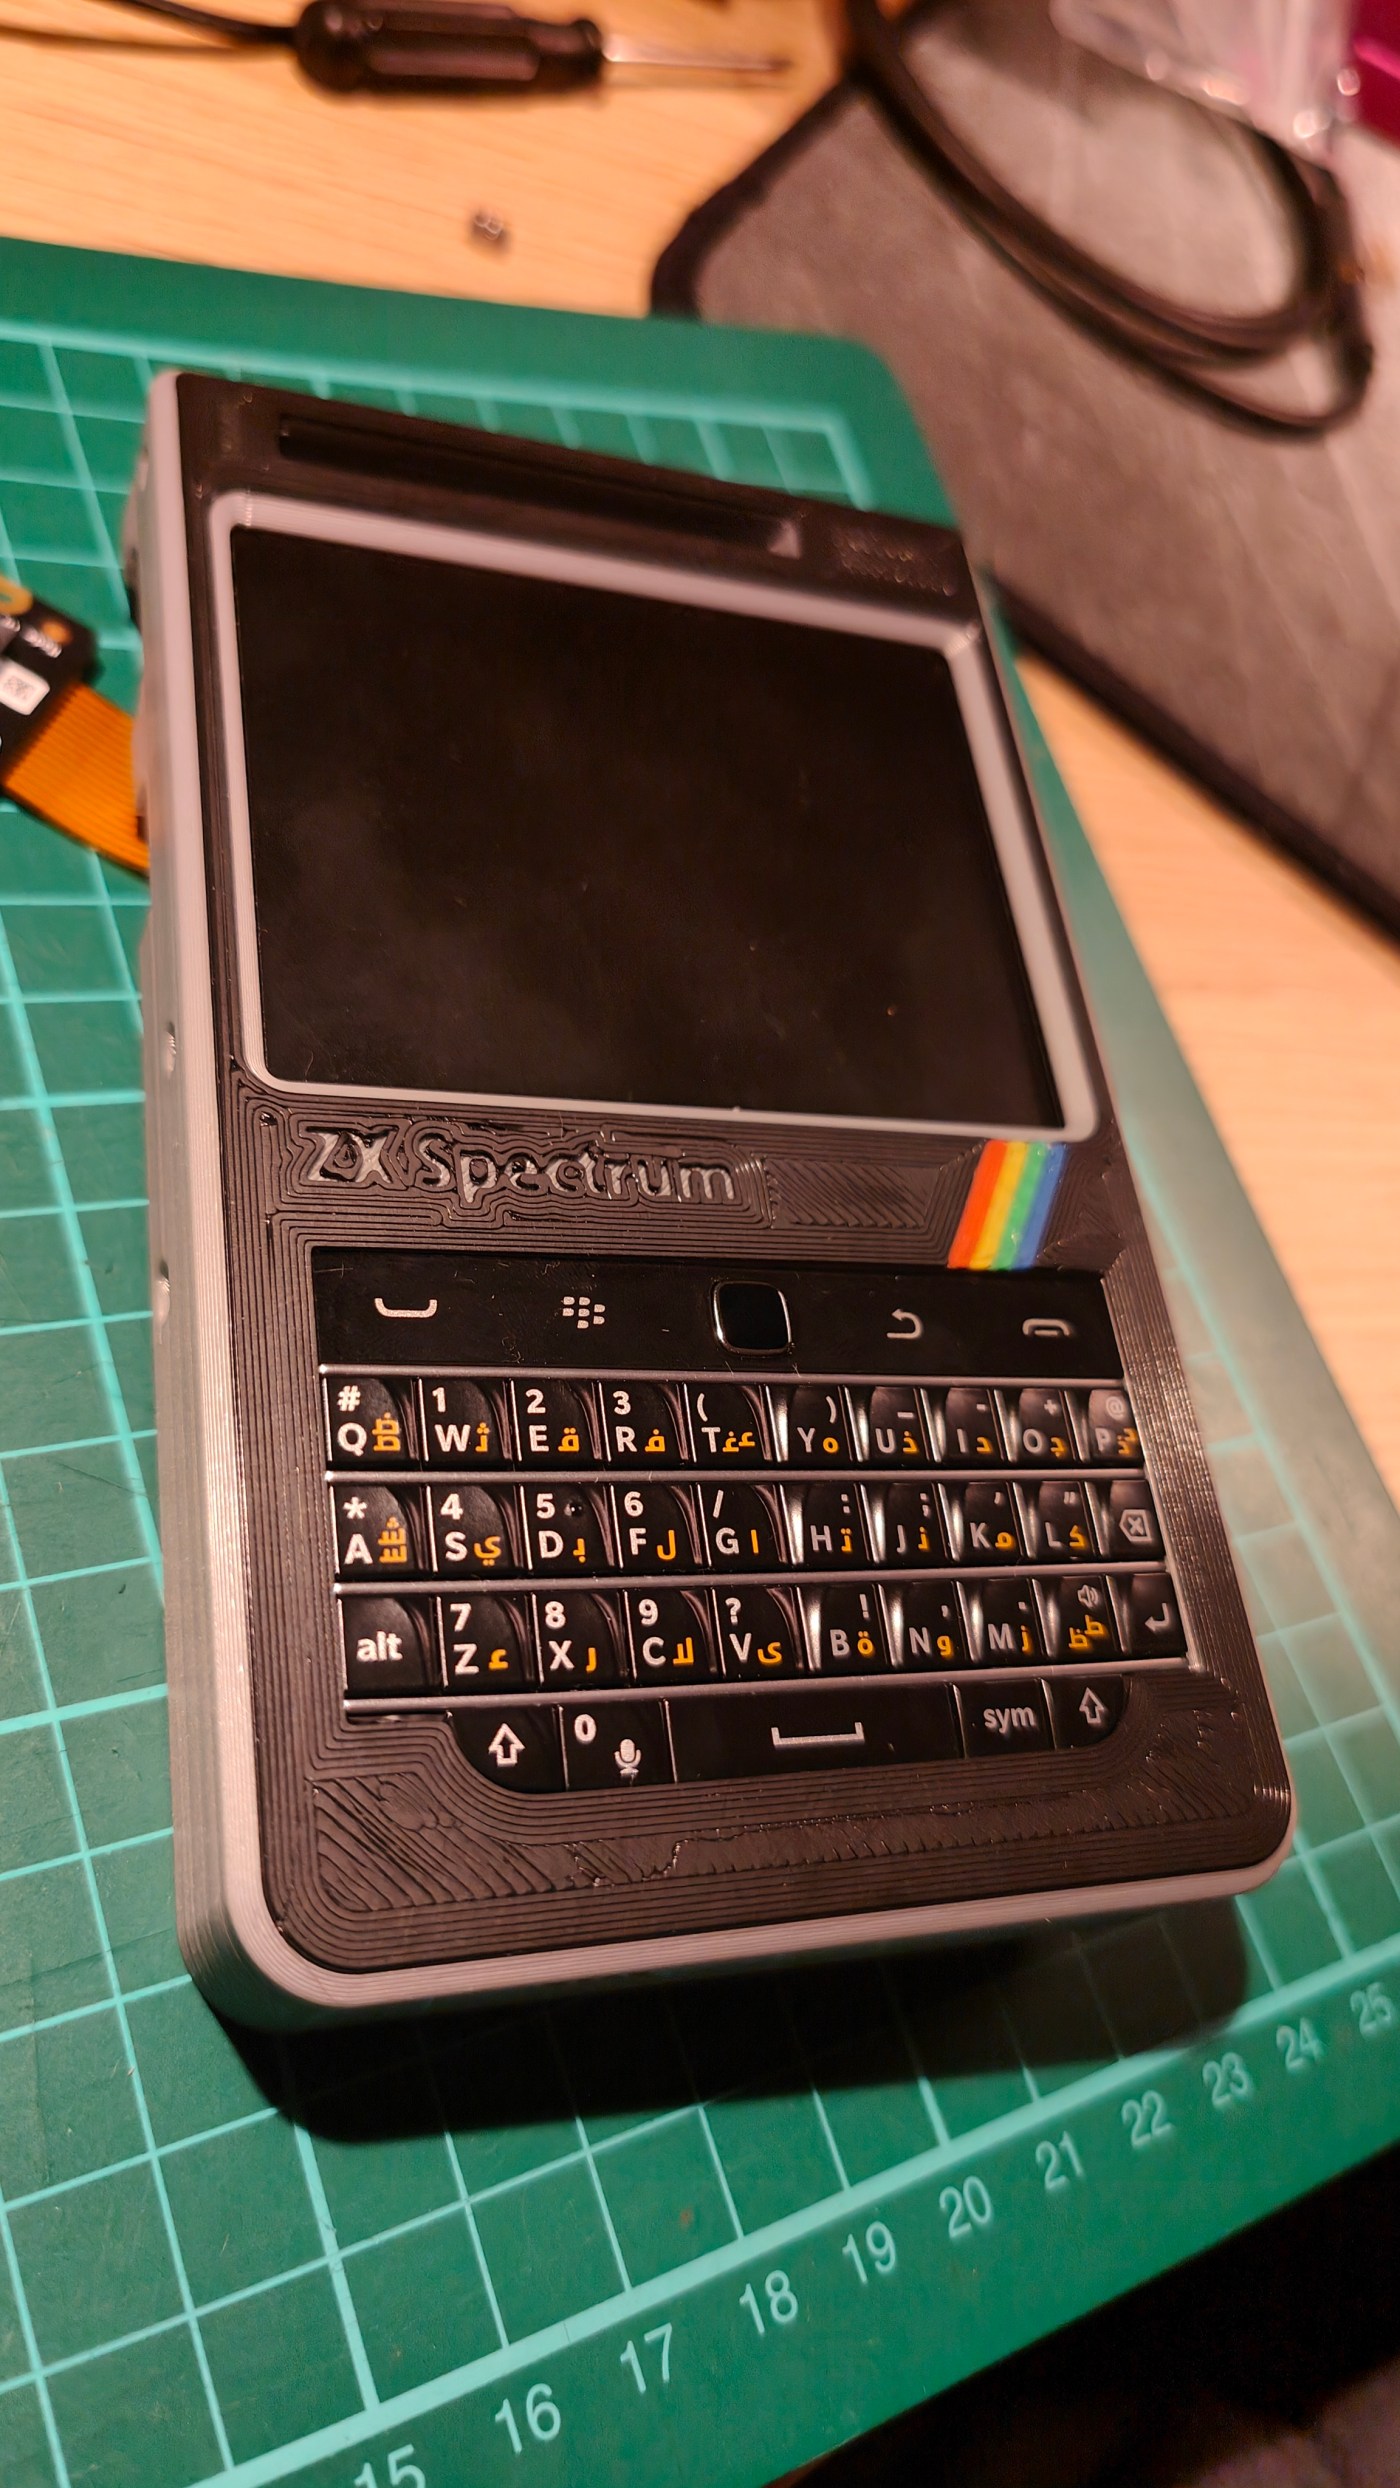
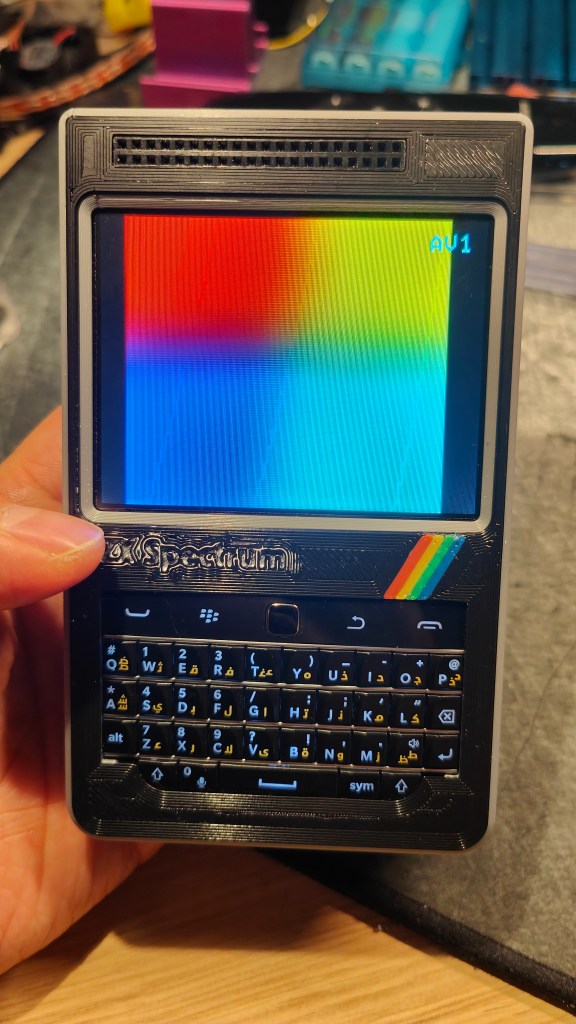
BanggoodGearbest composite Lcd from my old gameboy zero build (320×240), Link - Solderparty BBQ20KBD keypad
- Adafruit powerboost 1000c power supply
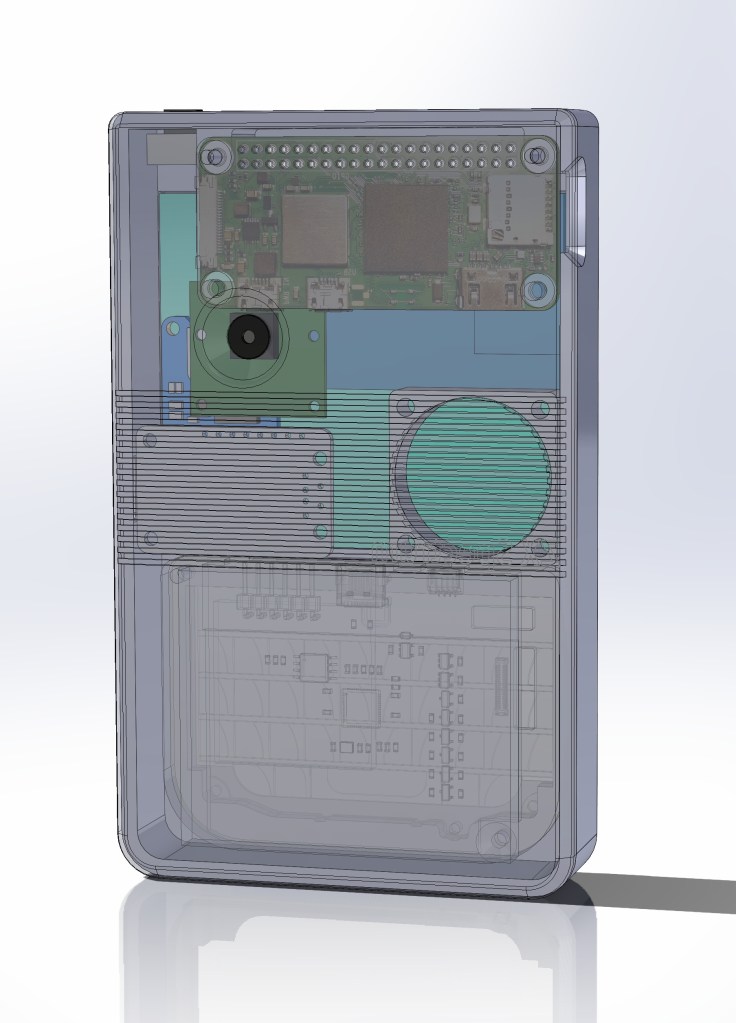
- Raspberry pi camera NoIR v2.1
- 5v fan for cooling (no sure if it’s necessary for pi zero, but I have planned to upgrade it to pi zero 2w once I can get one)
- 2500mAh Lipo battery
- (Optional) usb hub for external usb port (probably not necessary if BBQ20KBD is connected through I2C)
- (Optional) RTC clock board
- (Optional) ADC ADS1015 board for battery voltage readout
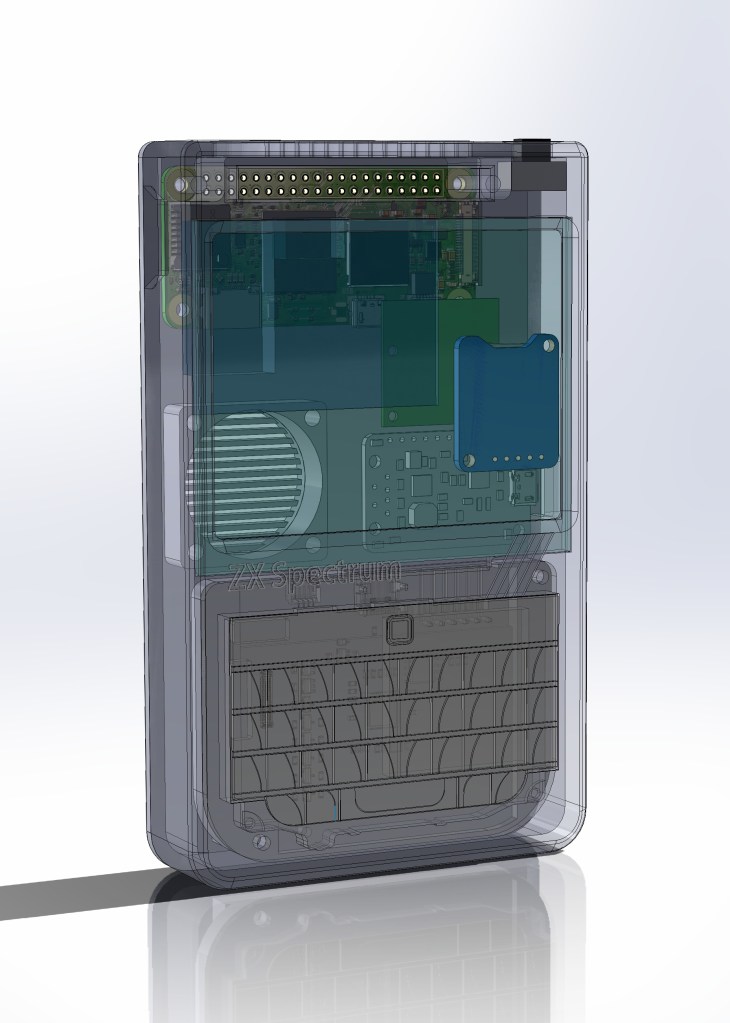
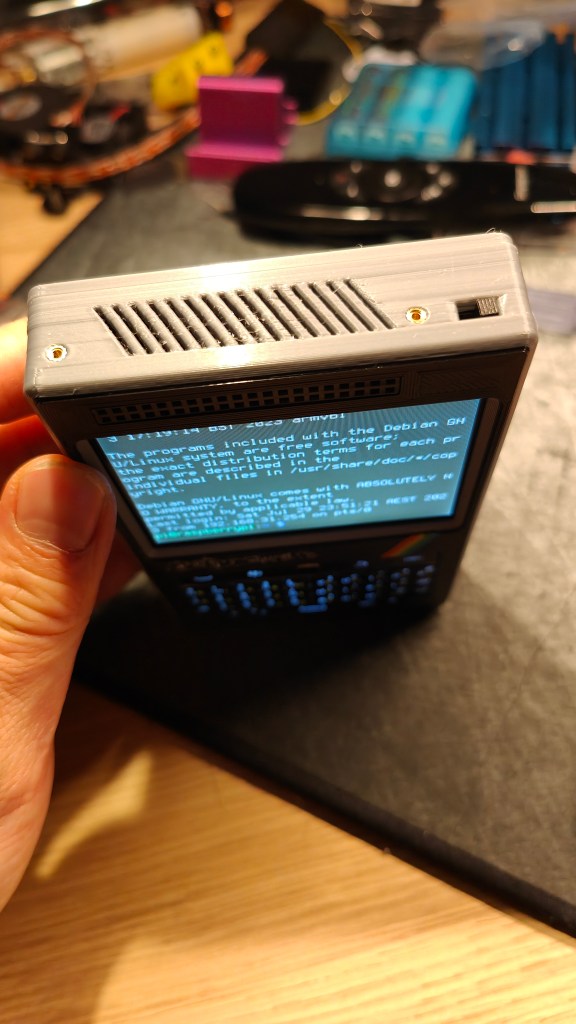
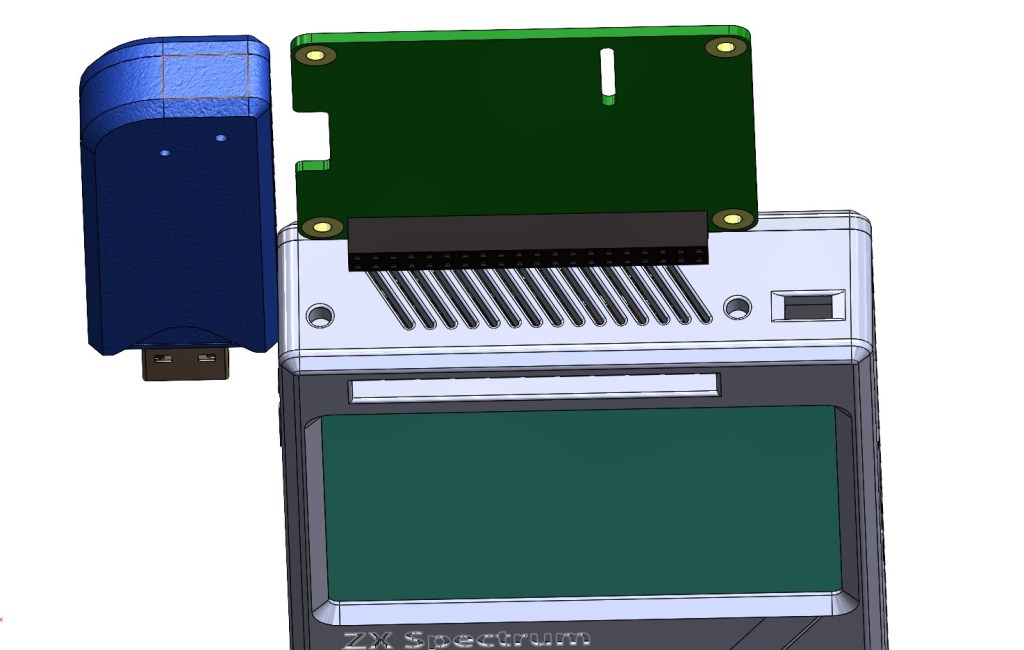
With all the components dimensions in mind, I quickly drafted the design in Solidworks. One of the unique features is that all GPIOs are directly accessible from the top of the lcd screen for easier connection. Some of the layout designing is inspired by a few pi projects, such as beeply, ClockworkPi uconsole.

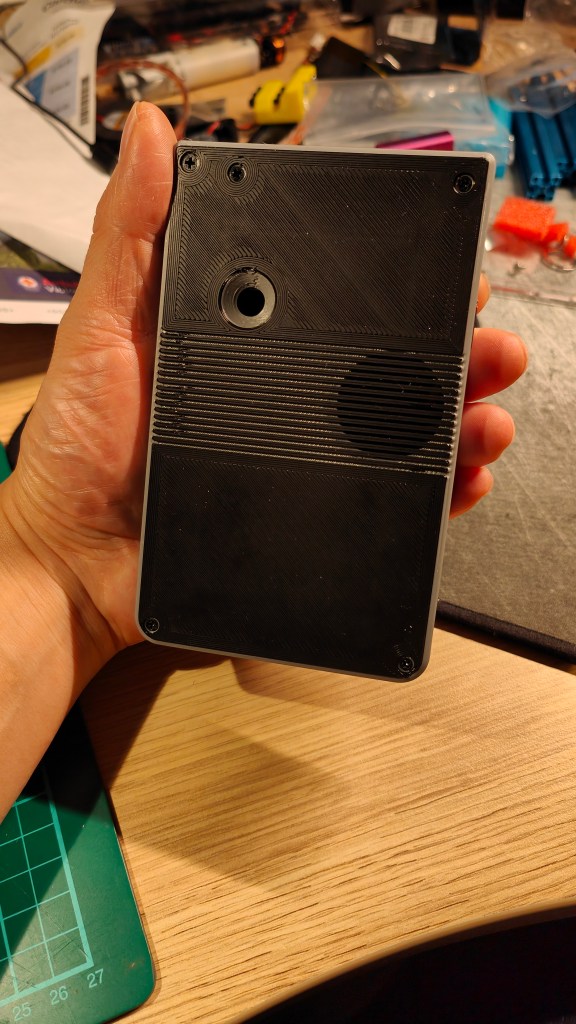
So it’s time to print the enclosure and assemble all the components. To add some style, I experimented with the multi-color printing on my modified Ender 3. It does take quite some effort to change and purge filaments, but turned out pretty nice in the end!

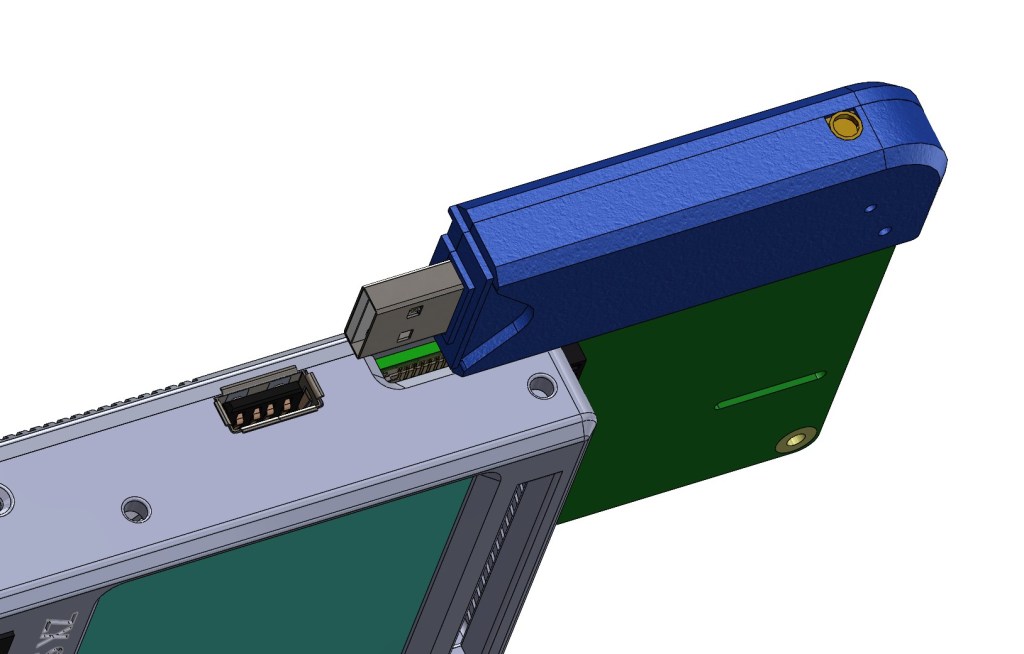
After final assembly and testing, I decided to temporarily remove the usb port because the lcd and pi are already drawing current close to 1A (roughly the capacity of the power supply). Update: I’m adding the USB port back given that it’s better to use I2C connection for BBQ20KBD. Other than that, everything seems to work very well.


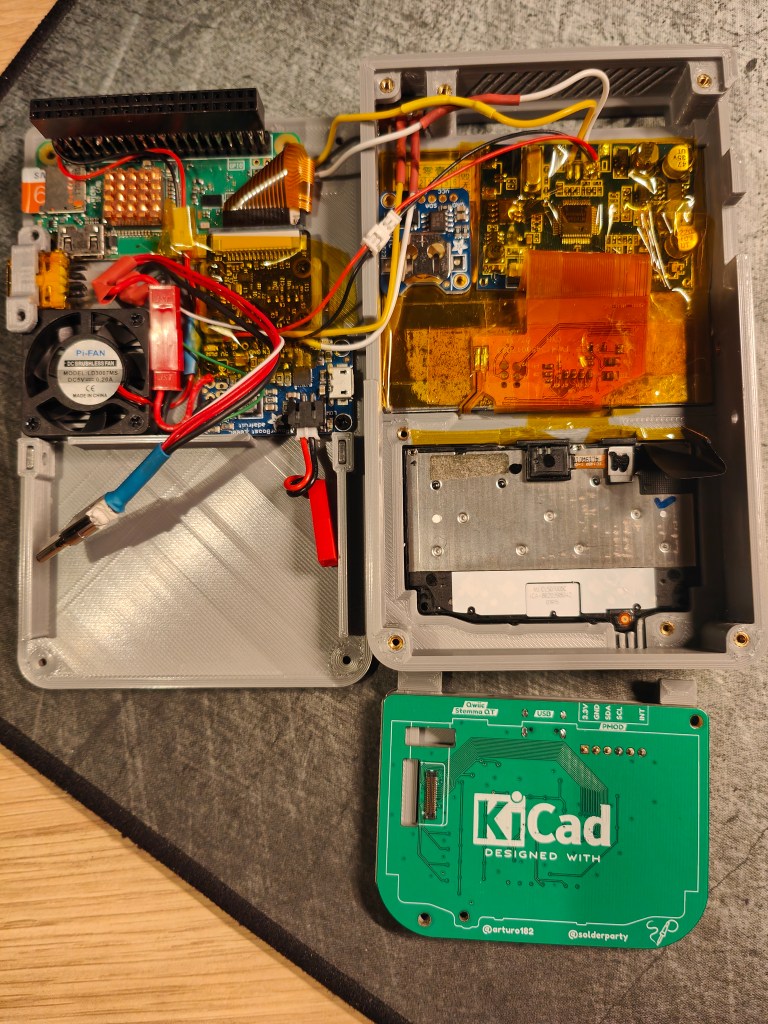
Because inside the enclosure is already quite crowded, I added a few brass inserts around the enclosure for future expansion add-ons. The current plan is to add a RTL-SDR dongle using the USB port, and Raspi Hat using the GPIO pins (pi sense hat in the CAD model). I may give a try on a 4G comm HAT at some stage given that it already has a form factor that resembles a blackberry cellphone. Because we are already limited by the power supply capacity, there may also need to add an add-on battery pack for the external devices.
To make the handheld more usable, I made it default to boot into CLI; and enable framebuffer to display 320×240 resolution in the /boots/config.txt file.
As a quick test, I wrote up a small python app to capture photos using pi cam and review the latest img in the Picture folder. It works really well.
One thing I’m not terribly happy about is that the BBQ20KBD (through USB-c connection ) does not have ESC and ctrl keys, making it inconvenient for ad-hoc editing code in nano. Perhaps I’ll try to modify the firmware at some stage to add them in. But for now, I’m done with this project and will be on my next big one. Thanks to the help from SQFMI Beepy discord friends, I was able to get the BBQ20kbd I2C driver working (https://github.com/wallComputer/bbqX0kbd_driver), which should allow me to remap the function of keys.
Current status: I’ve open the enclosure again to alter the keypad connection to I2C and spare the USB port. The original BBQ20KBD keypad is held to the PCB by a white foam-like double-side sticky tape, and also acting like a spacer so that the ribbon cable does not get crashed. However, it makes the edge of keypad very flexible. I have managed to get it removed and will design and print a more rigid spacer to improve the typing function. Once everything gets a bit more polished, I’ll post the enclosure files on my GitHub and Printable pages. Now the printing STL files and design .STEP file are available from my Printable page.

Awesome project! Are you able to advise what screen you used?
LikeLike
Thank you. I got my screen from gearbest originally for my gameboy project (https://www.sudomod.com/wiki/index.php/Noname_GearBest_3.5_Composite_Display).
LikeLike
I’d love to ask you some questions for an article. Sent you an email (uni address).
LikeLike
The best creation so far. You have built a device with a Raspberry Pi (my favorite mini computer), a BlackBerry keyboard (the best in history), and the look of the ZX Spectrum (the coolest). Congratulations!
LikeLike
Thank you for the kind words, Etchot. Really appreciate it!
LikeLike
satisfying! 57The perfect toy for materials scientists recreated
LikeLike